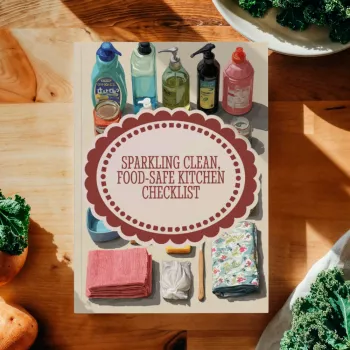
A food-safe kitchen isn’t just about looking tidy—it’s about reducing cross-contamination, keeping cleaning tools in the right places, and using products appropriately on food-contact surfaces. A simple, repeatable routine makes it easier to stay consistent on busy days, especially when you’re juggling meal prep, family schedules, and cleanup. This printable checklist turns kitchen cleaning into clear daily, weekly, and monthly actions, plus a quick guide to food-safe product choices.
“Food-safe clean” focuses on the places most likely to spread germs to hands and meals: countertops, cutting boards, sink zones, fridge handles, and small appliances. It also separates two steps that often get blended together—cleaning and sanitizing—so you’re not doing extra work that doesn’t actually improve safety.
For foundational guidance, the USDA’s “Clean, Separate, Cook, Chill” framework is a helpful north star for everyday habits: USDA Food Safety and Inspection Service. You can also review the same four steps from the CDC: CDC Food Safety.
The easiest routines are the ones you can see at a glance and complete without negotiating with yourself. Set it up once, then let it guide quick decisions during the week.
If you want the routine laid out in a single, fridge-ready page, the Sparkling Clean, Food-Safe Kitchen Checklist (Printable Digital Download) is designed for quick check-offs with daily/weekly/monthly sections and a product-use reminder area.
For anyone who likes pairing home routines with a quick self-check system (especially during hectic seasons), you may also like the AI-Powered Burnout Radar (Digital Checklist) as a separate, non-kitchen tracker to keep routines realistic and sustainable.
Daily actions are about breaking the chain of contamination—especially in the sink zone and on prep surfaces. Keep this list short enough that it still happens when the day gets away from you.
Weekly tasks are where kitchens often regain control—sticky shelves get handled, high-touch points get attention, and cleaning tools get refreshed so they don’t become the problem.
| Kitchen area | Typical need | Notes for food safety |
|---|---|---|
| Countertops (food prep) | Clean + sanitize | Clean first; follow sanitizer label contact time; rinse only if required |
| Cutting boards | Clean + sanitize | Use separate boards for raw proteins when possible; replace deeply gouged boards |
| Sink & faucet | Clean (and sanitize as needed) | Treat as a high-contamination zone; don’t rest clean produce directly in the sink |
| Refrigerator shelves/handles | Clean; sanitize high-touch | Keep raw proteins sealed and on the lowest shelf to reduce drip risk |
| Dishcloths/sponges | Replace/clean often | Swap cloths daily; replace sponges frequently; air-dry tools between uses |
| Trash can lid/rim | Clean + sanitize | High-touch; helps reduce odors and residue transfer to hands |
It depends on how your kitchen is used. Sanitizing is especially important after handling raw meat, seafood, or eggs, during heavy meal prep, and when someone is sick—always clean first, then follow the product label for wet contact time and whether a rinse is required.
Cleaning removes food residue, grease, and dirt from a surface. Sanitizing reduces germs to a safer level, and it works best after the surface is already clean.
Dishcloths are best swapped and laundered frequently (often daily if they’re used heavily). Sponges should be replaced regularly, and both cloths and brushes should be allowed to air-dry between uses to reduce contamination.












Leave a comment